
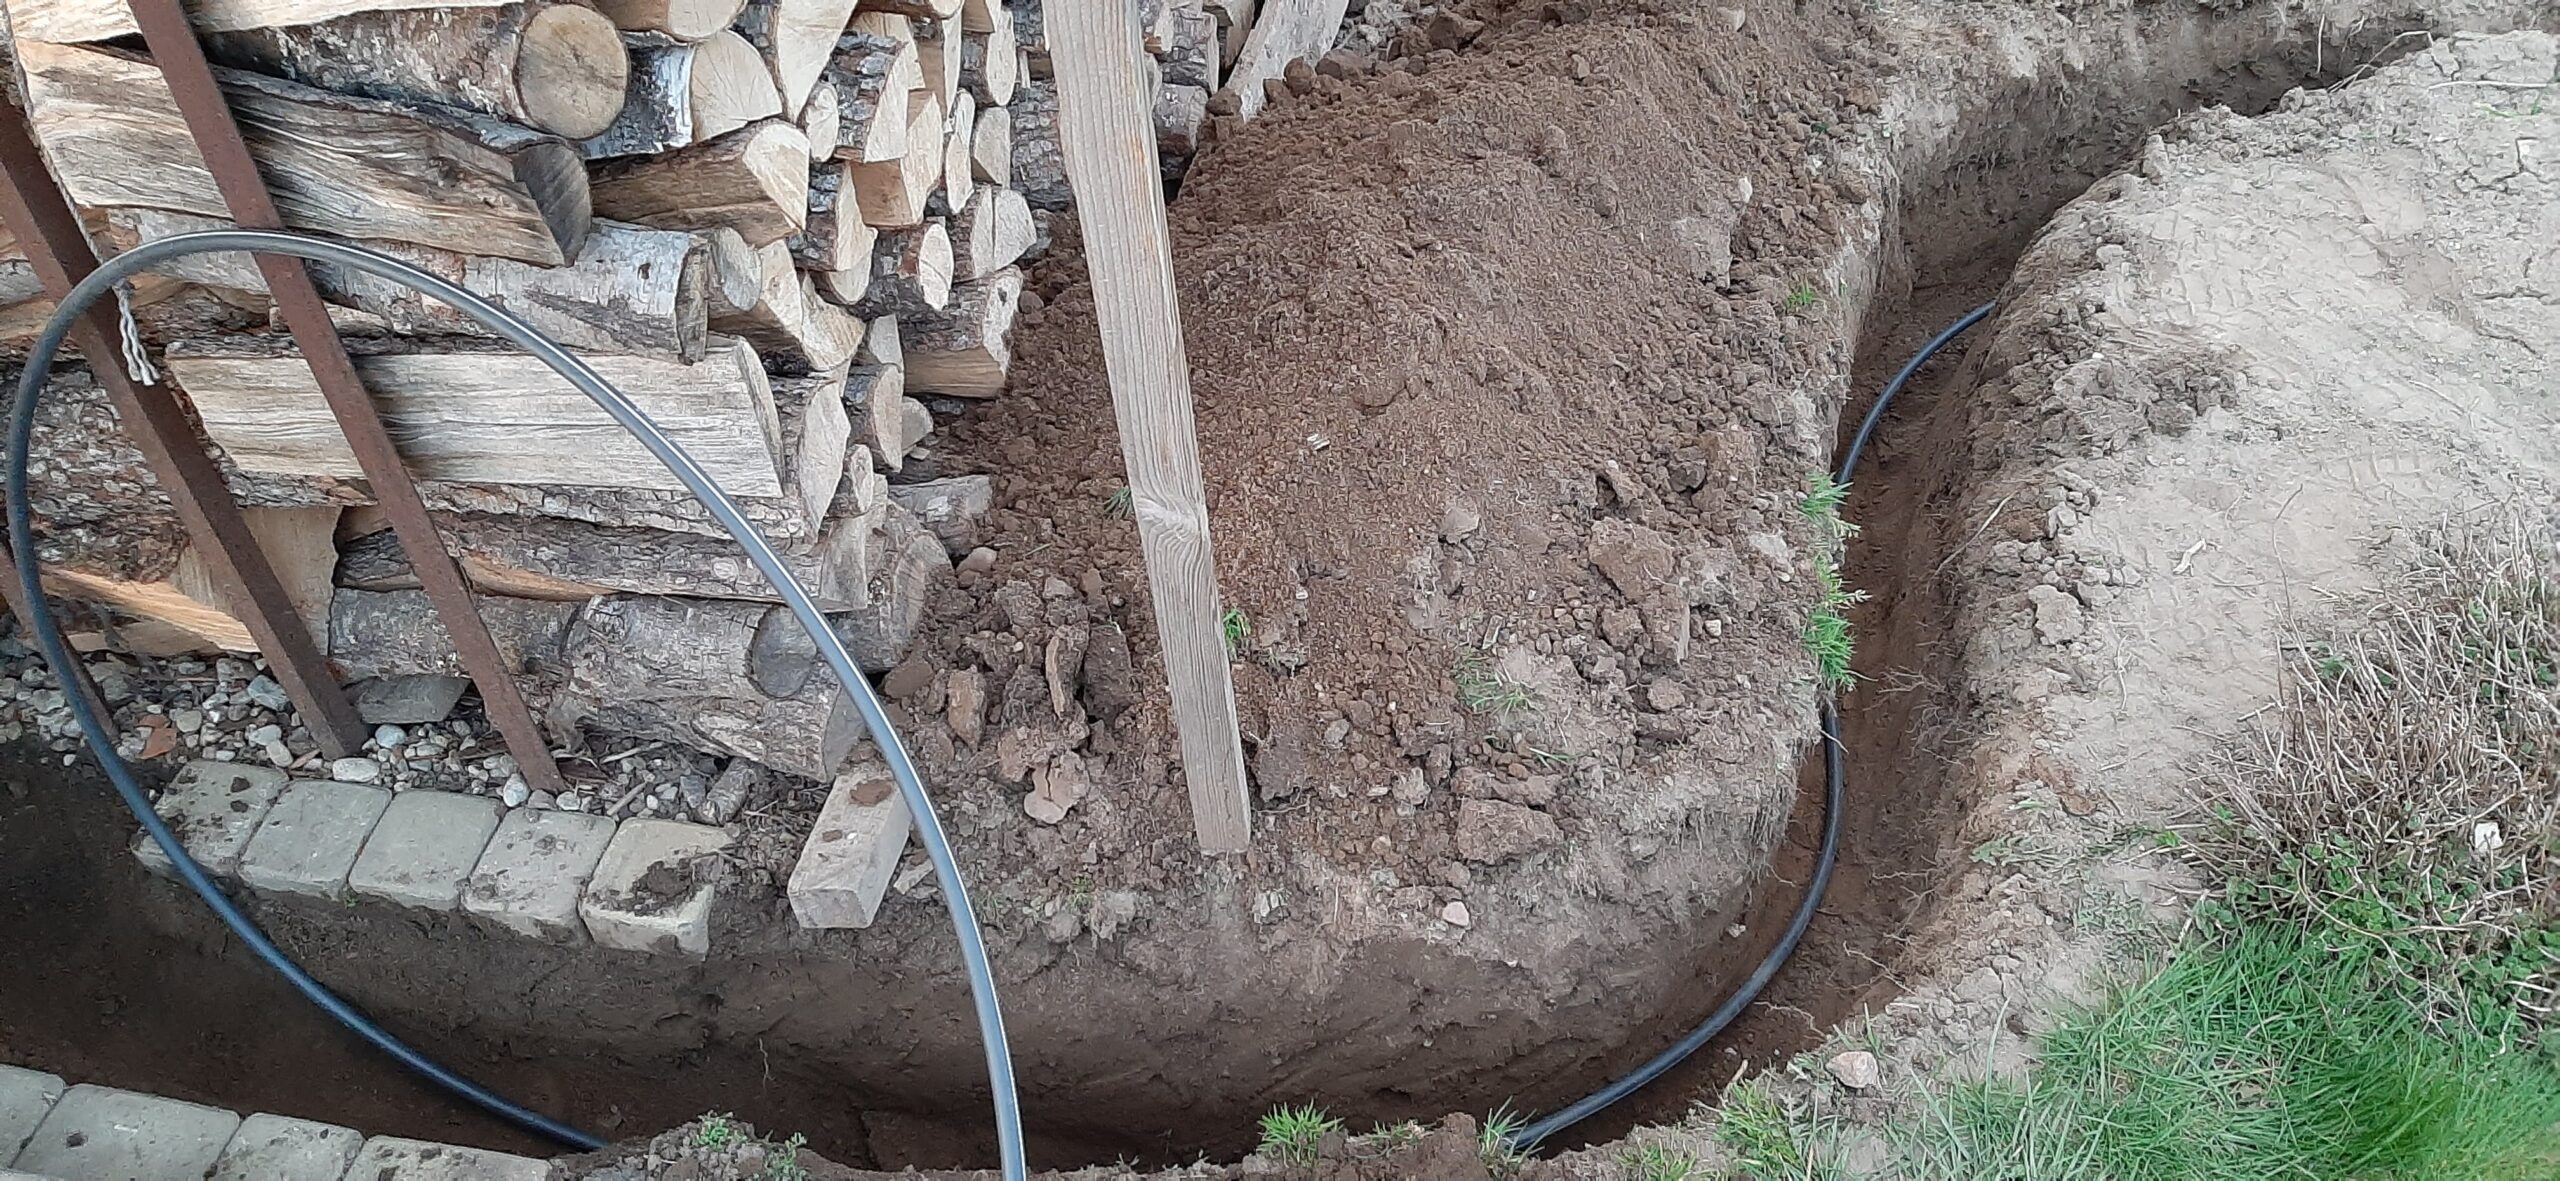
My wife wanted to start growing tomatoes as early as possible so we could get a good harvest during the summer. The problem is that early spring temperatures here can still be quite low, especially at night, and an unheated greenhouse can get too cold for young tomato plants.
To make the greenhouse more useful in both spring and summer, I decided to run underground power to my greenhouse instead of relying on an extension cord across the yard.
Why I Needed Electricity in the Greenhouse
The main reason was heating. We bought a thermostatically controlled gas heater so we could maintain a minimum temperature inside the greenhouse during cold spring nights.
The heater uses a gas cylinder as its heat source, but it also needs electricity for its controls and operation. I already had the gas cylinder, so electricity was the missing part of the setup.
I was also planning ahead for summer. On hot sunny days, the temperature inside a polycarbonate greenhouse can rise very quickly, so I wanted the option of installing exhaust fans that could switch on automatically when the temperature reached a certain level.
With both heating and ventilation in mind, installing a permanent electrical supply made much more sense than repeatedly running an extension lead from another building.
Before the permanent underground supply was finished, I temporarily powered the heater using an extension lead. This allowed us to start using the greenhouse while I was still completing the electrical installation from the garage.
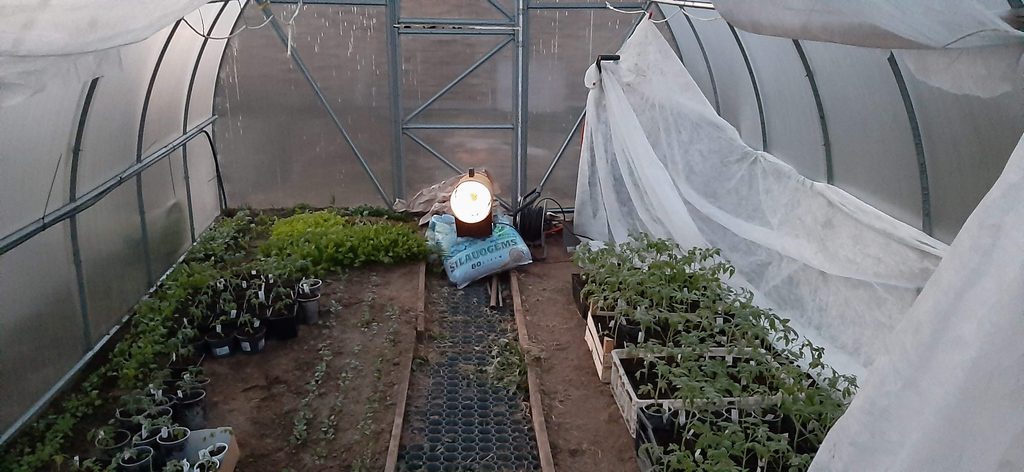
Once the underground power supply was finished, there was no longer any need to run the temporary extension lead across the yard.
Planning the Underground Cable Route
The nearest suitable power source was in my garage/outbuilding, so the next step was deciding how to get the cable from there to the greenhouse.
I chose to run the cable underground across the yard. This kept the installation out of the way and avoided having a permanent extension lead running over the ground.
Before digging, I worked out the most direct route between the building and the greenhouse and decided where the cable would enter the greenhouse. Once the route was clear, I started digging the trench.
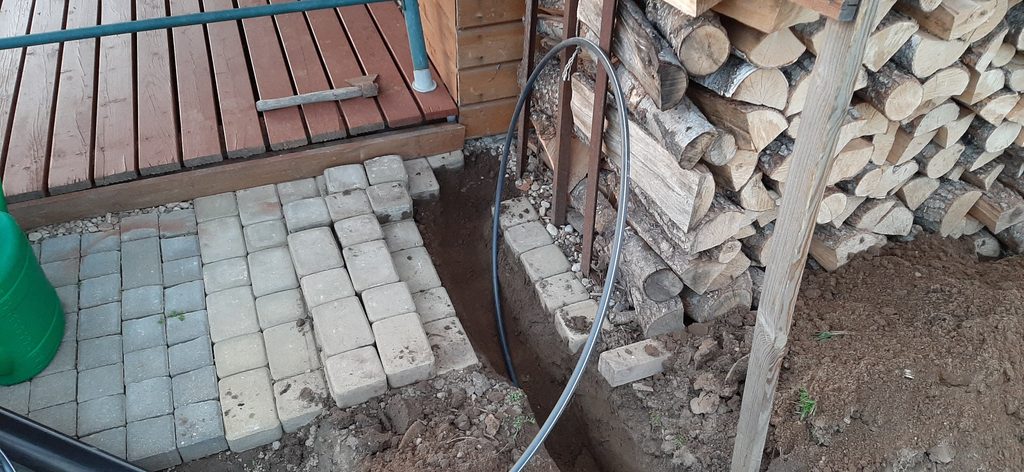
Digging the Trench to the Greenhouse
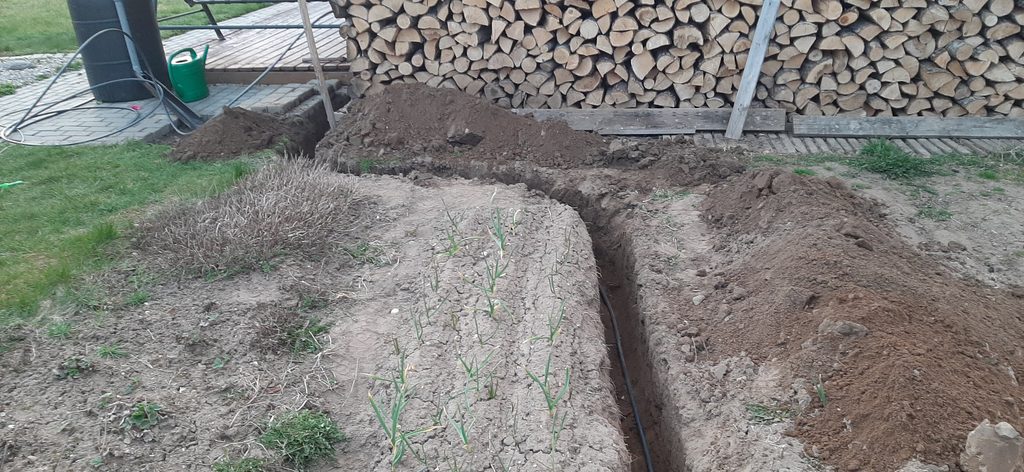
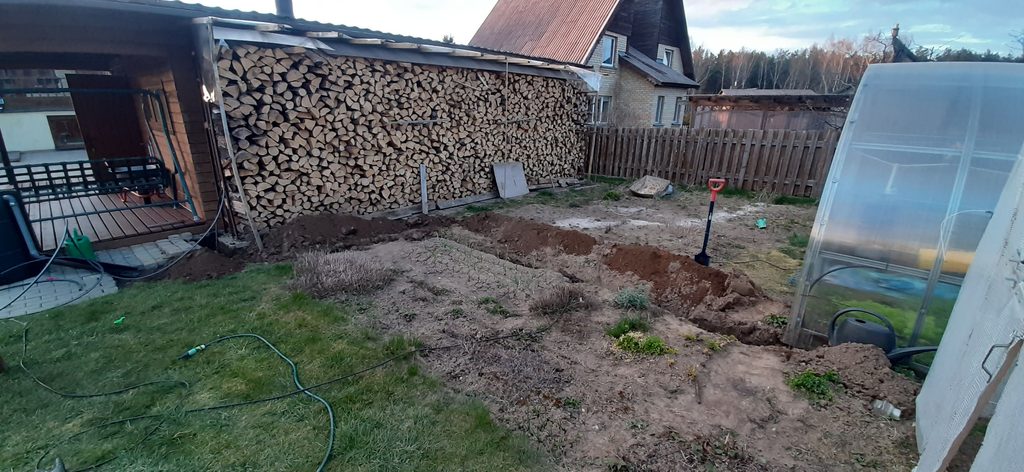
Digging the trench was the most physical part of the project. The cable route had to cross the yard from the garage/outbuilding all the way to the greenhouse.
I tried to keep the route as direct as possible while working around the existing paving, garden areas and other obstacles. As the trench got longer, the complete path of the new power supply became much easier to see.
I dug the trench by hand, section by section, until I reached the greenhouse.
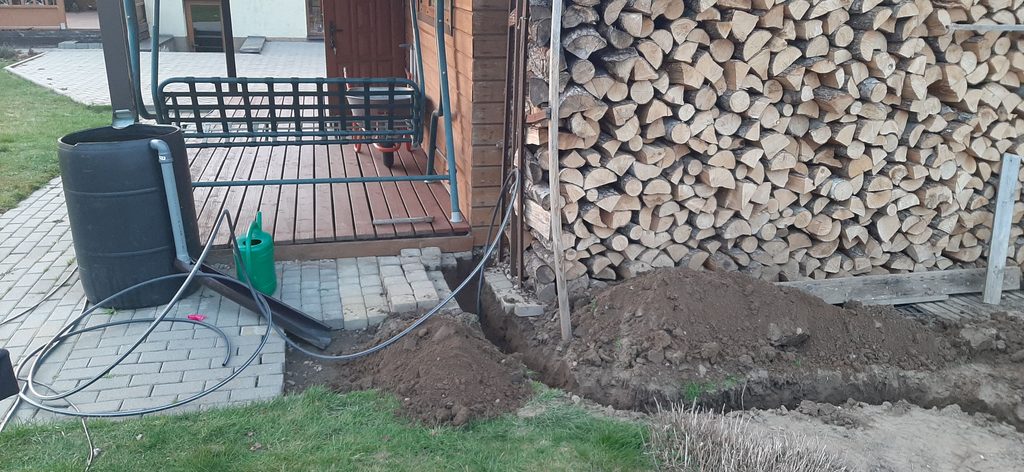
Running Underground Power to My Greenhouse
I already had a fairly large amount of 2-core 1.5 mm² cable available, so rather than buying a new 3-core cable with a protective earth conductor, I decided to use what I already had.
At the time, I expected the greenhouse supply to be used mainly in spring for the gas heater controls, rather than for high-power equipment running continuously, so I did not see much benefit in buying a more expensive cable specifically for this project.
I pulled the cable through plastic conduit before laying it in the trench, which provided additional mechanical protection along the underground route.
This describes the installation I made at the time rather than a general recommendation. For a new permanent outdoor circuit, the cable type, conductor size, protective earth and RCD/RCBO protection should be selected according to local electrical regulations and the equipment being connected.
Adding an Outdoor Socket Along the Route
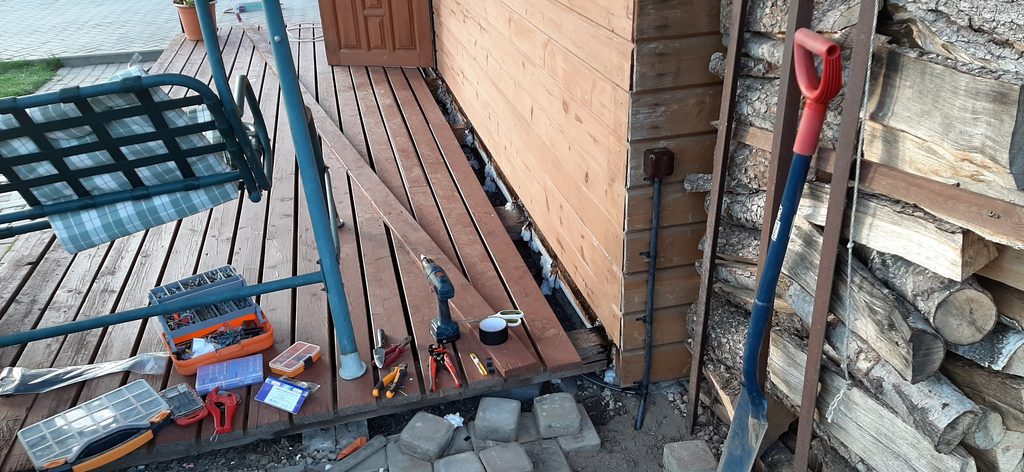
Since the cable route passed the garage/outbuilding, I decided to make the installation a little more useful by adding an outdoor socket along the way.
This gives me a convenient power point near the garden whenever I need to plug in a tool or other electrical equipment, without having to run a long extension lead from inside the building.
It was not the main purpose of the project, but since the power cable was already being routed through this area, adding a socket here made practical sense.
Bringing the Power Into the Greenhouse
Once the conduit reached the greenhouse, I brought the cable up from the trench and routed it into the structure.
I wanted the connection point to be reasonably close to where the heater would be used, while keeping the cable out of the way of normal work inside the greenhouse.
After the cable was in place, I secured the route so it would not simply be lying loose on the ground or getting in the way around the greenhouse frame.
At this point, the underground part of the project was essentially finished and I could start preparing the electrical connection inside the greenhouse.
Planning Automatic Summer Ventilation
Electricity was also useful for a second idea I had for the greenhouse: automatic summer ventilation.
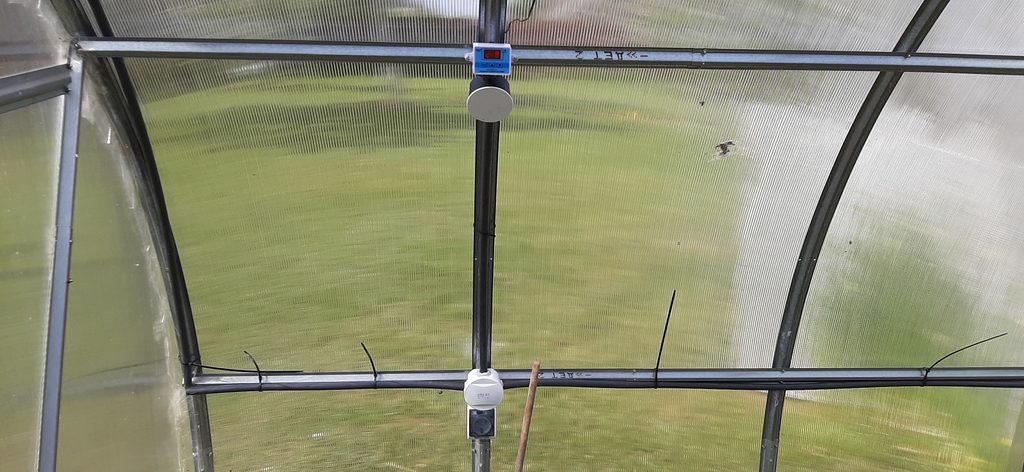
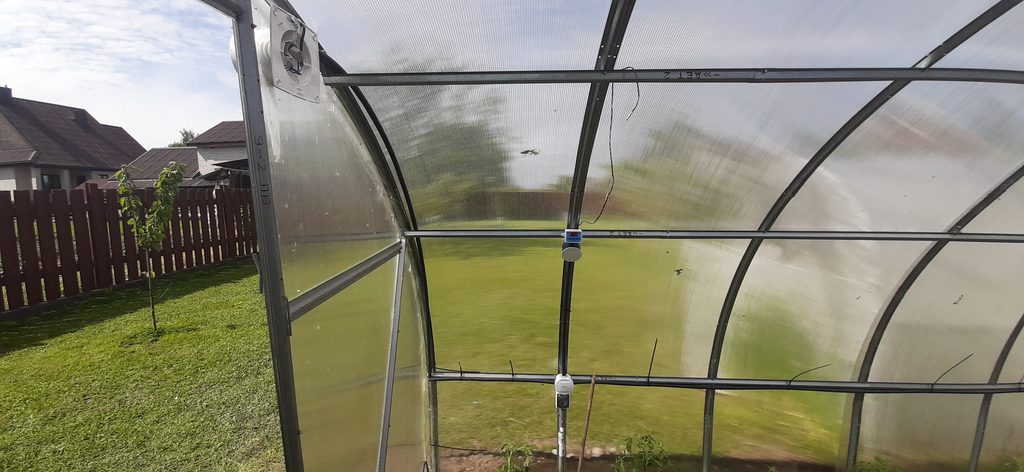
I planned to use a temperature controller inside the greenhouse. A temperature sensor would monitor the air temperature, and the controller would automatically switch the ventilation fan on when the greenhouse became too hot and turn it off again once the temperature dropped below the set level.
One of the main reasons I wanted the fans to work automatically was the early morning heat in summer. The sun can rise very early, while the greenhouse doors are still closed, and the temperature inside can increase surprisingly quickly.
The idea was for the ventilation fans to start automatically as soon as the temperature reached the set limit. They would help remove hot air and keep the greenhouse temperature under control until someone opened the doors for normal ventilation later in the morning.
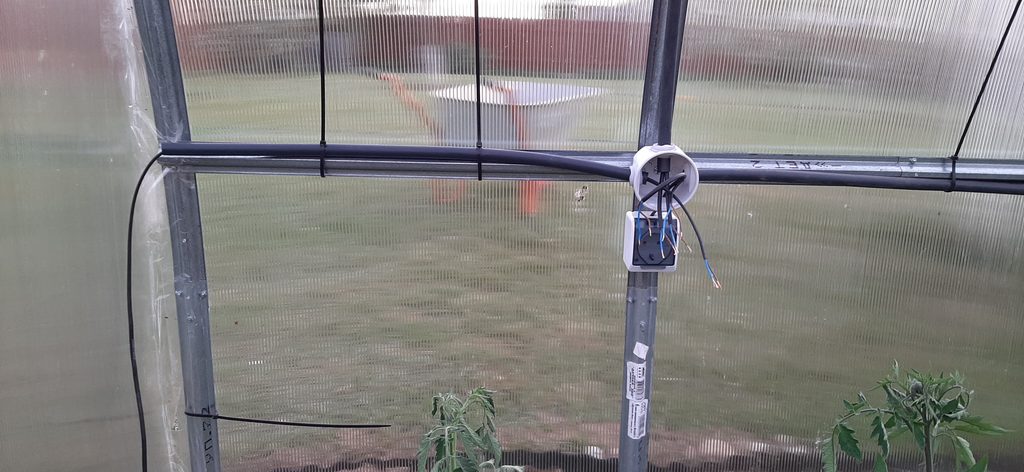
In the photo, the cable running upward goes to the temperature controller, while the cable running to the left supplies the ventilation fan. This meant the fan could operate automatically without me having to switch it on and off manually.
The idea was simple: use heating to protect the plants during cold spring nights, then use automatic ventilation later in the season when overheating became the bigger problem.
This way, the system could protect the plants during the hottest part of the early morning without requiring anyone to be there immediately.
Finishing the Underground Cable Route
Once the cable and conduit were in place and everything had reached the greenhouse, I filled the trench back in and restored the ground as well as I could.
After spending so much time digging across the yard, it was satisfying to finally hide the entire cable route underground. Once the trench was closed, there was very little visible evidence that a new electrical supply was running between the garage and the greenhouse.
The finished installation also meant I no longer needed to run a temporary extension lead across the yard whenever we wanted to use the heater.
Running underground power to my greenhouse turned out to be useful for much more than just the heater.
Was It Worth Running Power to the Greenhouse?
Yes. What started as a way to power the gas heater turned into a much more useful upgrade for the greenhouse.
The permanent electrical supply means we can use the thermostatically controlled heater during cold spring nights without running an extension lead across the yard. It also made it possible to add automatic summer ventilation, with a temperature controller switching the fan on when the greenhouse becomes too hot.
Adding the extra outdoor socket along the route was another useful bonus, as I now have a convenient power point for tools and other equipment in the garden.
If I were planning the project again today, I would also review the cable specification, protective earth and circuit protection before installation rather than simply using the cable I already had available.
Overall, bringing underground power to the greenhouse made it much more practical throughout the growing season — heating when spring nights are cold and automatic ventilation when summer mornings become too hot.
If you want to see the greenhouse itself, take a look at my original polycarbonate greenhouse build and how I later extended the greenhouse from 4m to 6m.