
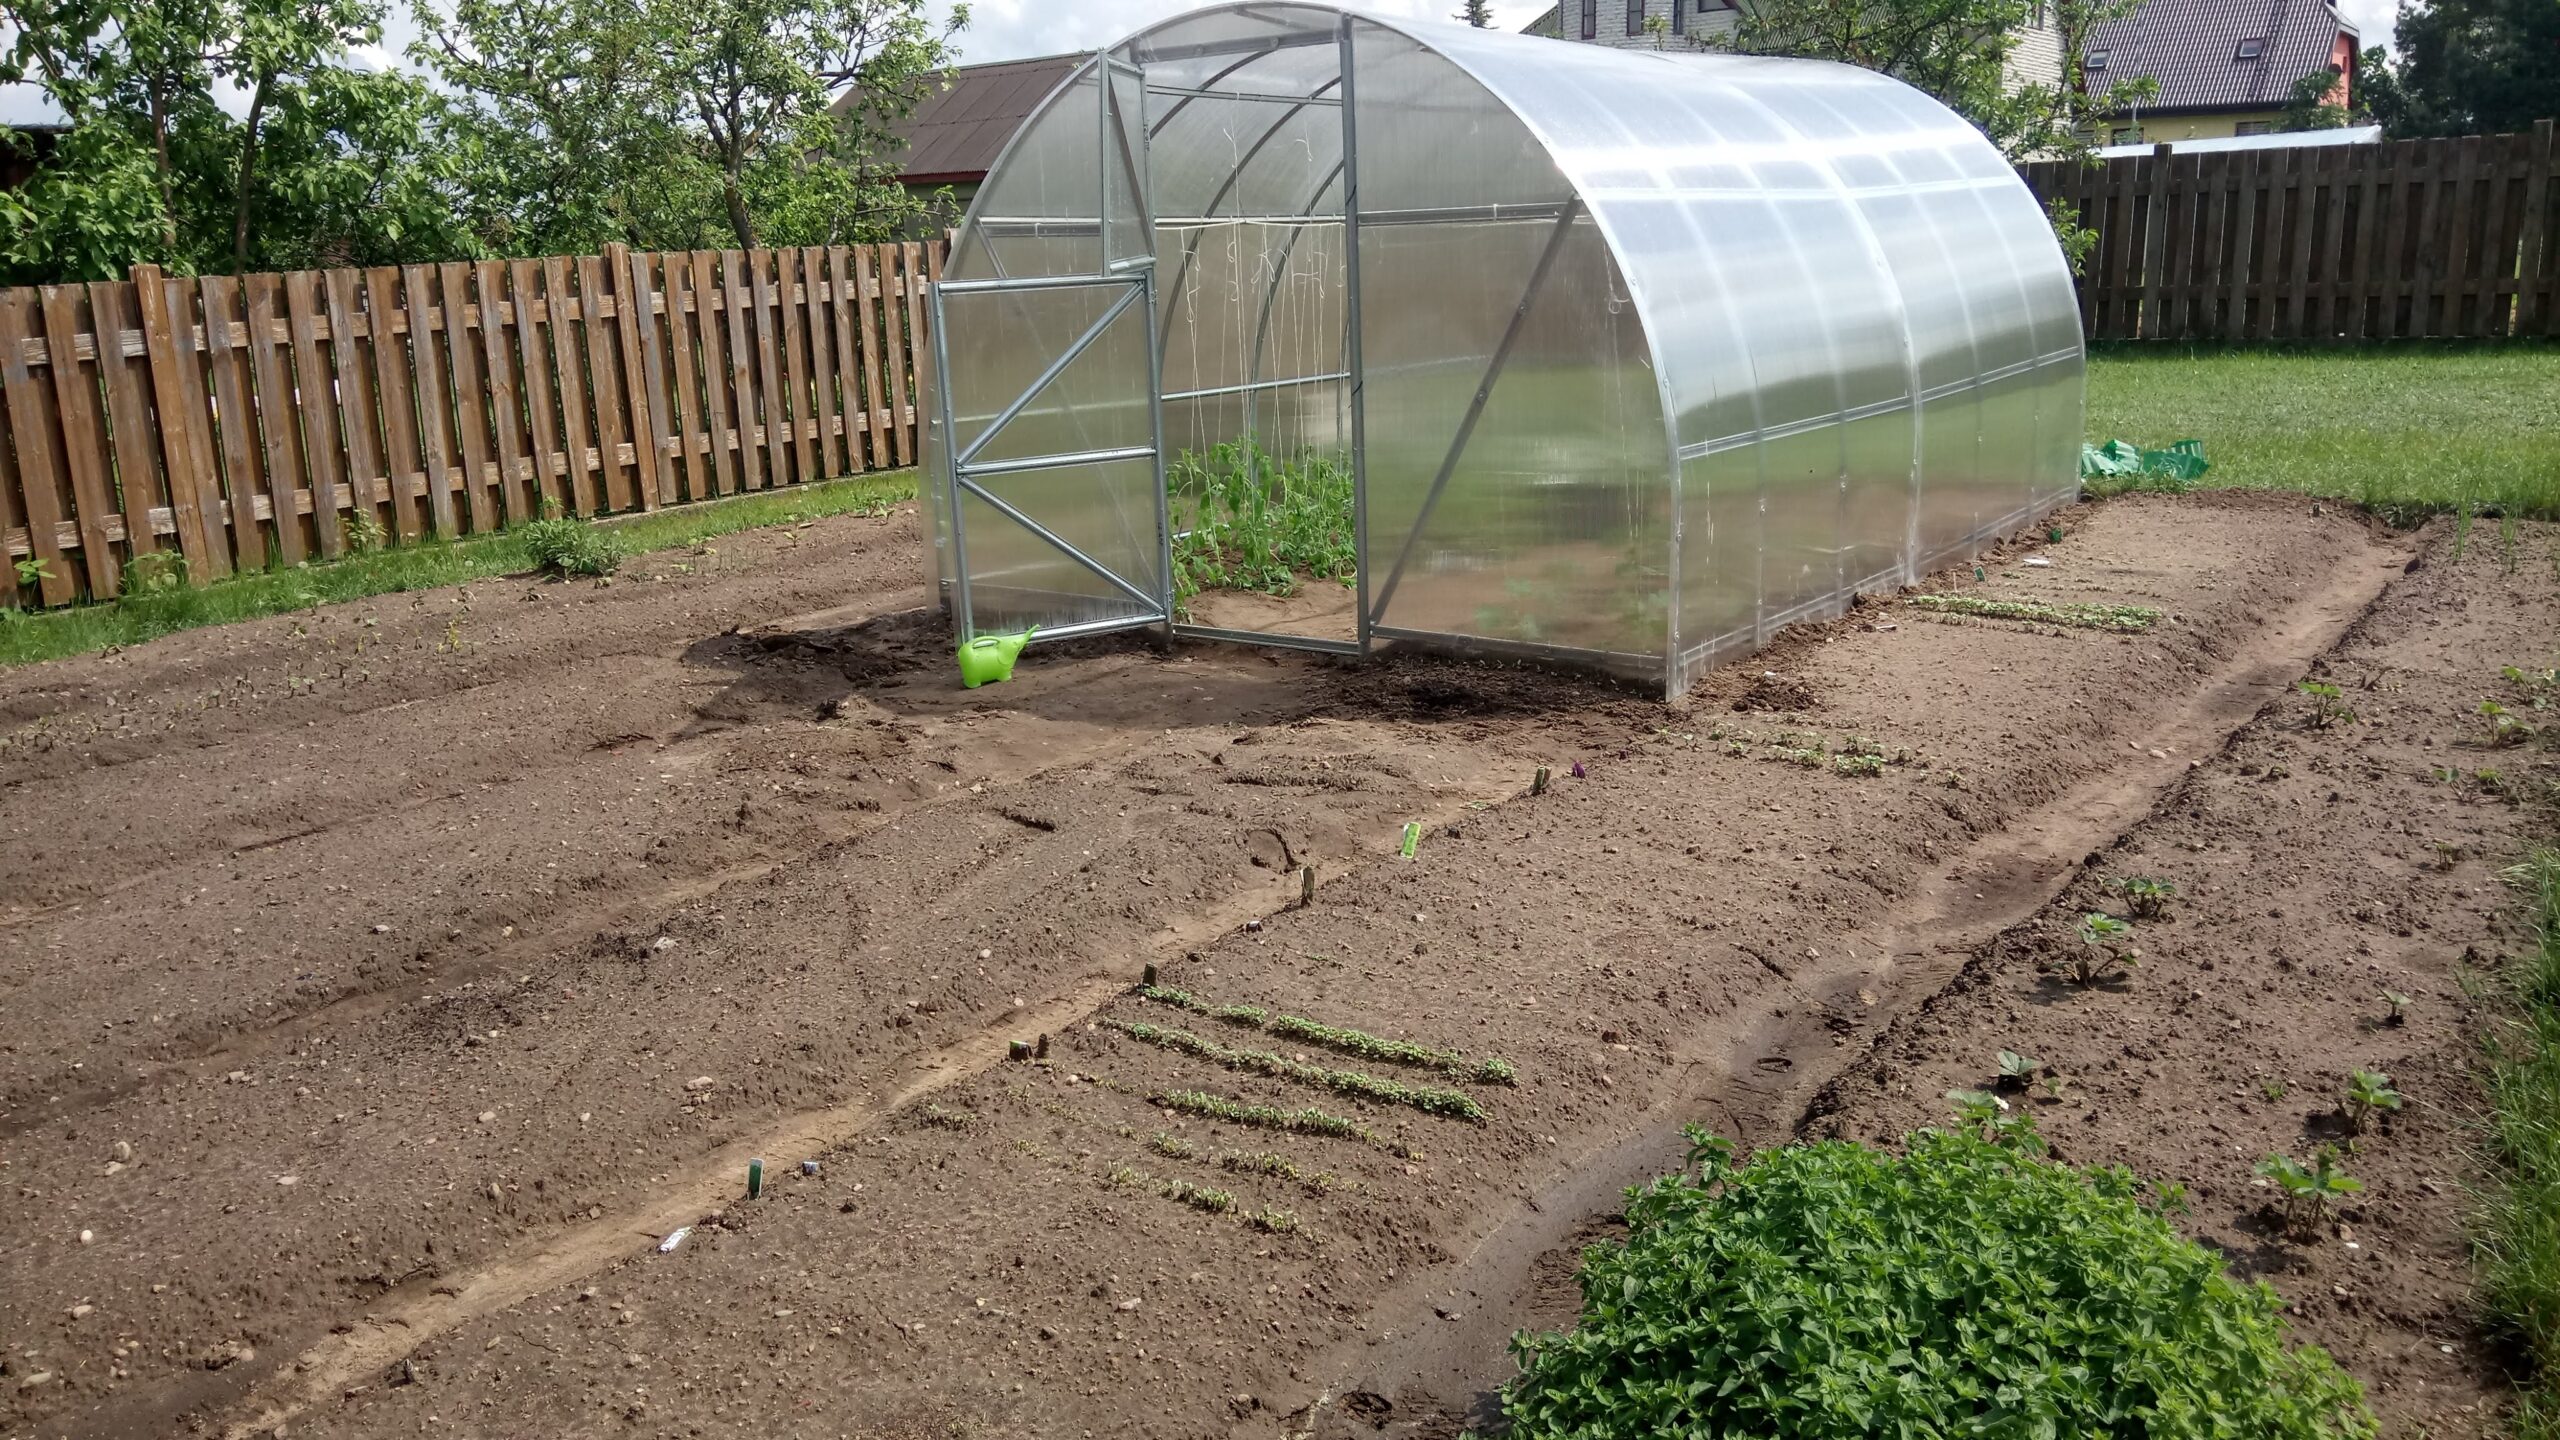
In April 2018, we bought a house and moved in. It was not a new build: other people had lived there before us, but they had never had a greenhouse. With summer approaching, we needed to get our first polycarbonate greenhouse built in time for my wife to grow tomatoes.
The following month, I assembled a Belarusian-made EKO greenhouse in our garden. It measured 3 metres wide and 4 metres long, giving us 12 square metres of growing space.
I put it together on my own. Although the kit came with pre-drilled frame components, assembly was not always straightforward. Some holes did not line up properly, and getting every ground leg positioned at the correct level turned out to be the most demanding part of the build.
This article follows the original installation through my photos, from assembling the frame on the lawn to the greenhouse in use during its first summer.
The Greenhouse Kit and What It Cost
Table of Contents
I ordered the greenhouse from Siltnamiai.lt on 24 April 2018. The kit included 4 mm polycarbonate covering, and I also ordered two Univent automatic openers for the ventilation setup.
Here is what I paid at the time:
| Item | Cost |
|---|---|
| EKO greenhouse, 3 × 4 m, with 4 mm polycarbonate | €240.00 |
| Two Univent automatic openers | €50.00 |
| Delivery | €9.99 |
| Total | €299.99 |
These are the original 2018 prices. They cover the initial 4-metre-long greenhouse and the items listed above, not the extension or repairs carried out later.
Assembling the Frame on the Lawn
I started by assembling the metal frame on the lawn beside the vegetable garden. The curved sections formed the main shape of the greenhouse, with horizontal members connecting them along its length.
The frame used fairly wide, flat metal profiles. Joining two sections required three screws, and the pre-drilled holes did not always line up accurately. That made some connections more awkward than they should have been.
Working alone, I had to handle the sections and fit the fasteners myself. The greenhouse gradually took shape, but it was not simply a matter of placing every component in position and finding that everything fitted perfectly.
The photos below show the main frame standing while the separate door sections and remaining components were still laid out on the grass.
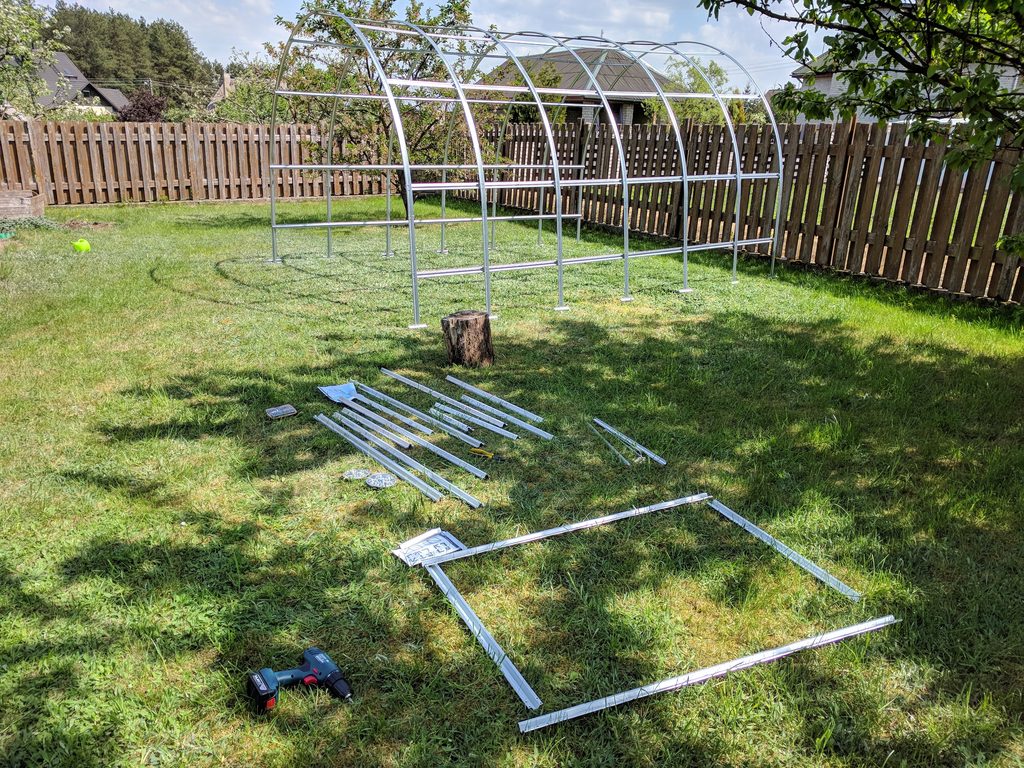
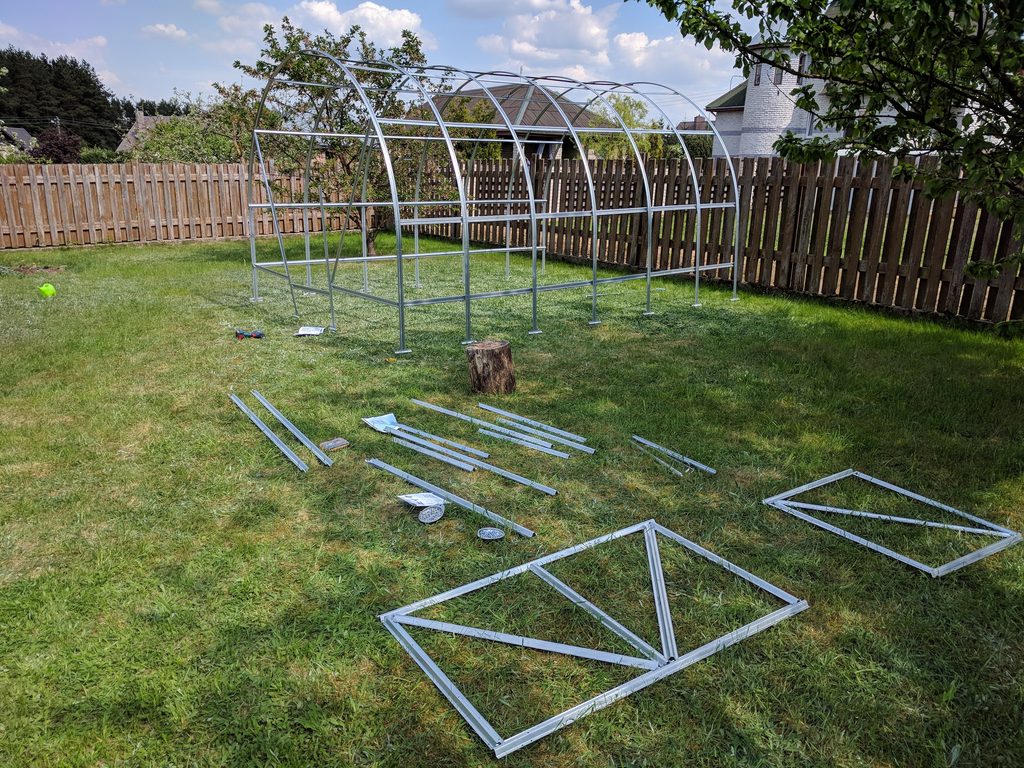
Assembling the greenhouse frame on the lawn, with door sections and remaining components laid out nearby.
Positioning the Frame and Setting the Ground Legs
Once the main frame was assembled, I positioned it in the vegetable garden.
Each leg had a widened section at its lower end. These enlarged feet were designed to sit below ground level, with soil filled back around them to help hold the structure in place.
The biggest challenge was getting every leg to the correct level. If just one leg sat slightly higher than the others, the whole greenhouse would start to twist out of alignment.
That was the most fiddly part of the installation. Having the individual frame sections connected was only part of the job; the complete structure also needed to sit evenly on its supports.
The two photos below show the frame in position, with holes around the legs and the covering still to be installed. At this stage, the relationship between the ground level and the shape of the frame is easy to see.
Nuotraukų vieta: dviejų nuotraukų galerija — IMG_20180514_195520.jpg ir IMG_20180514_195533.jpg.
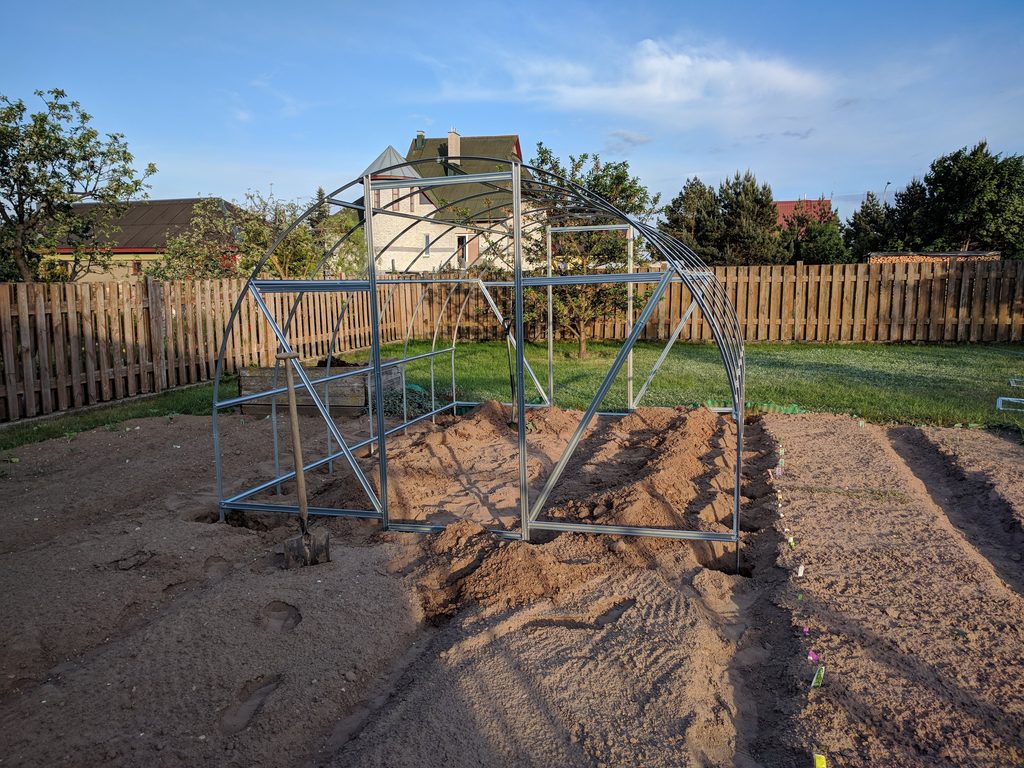
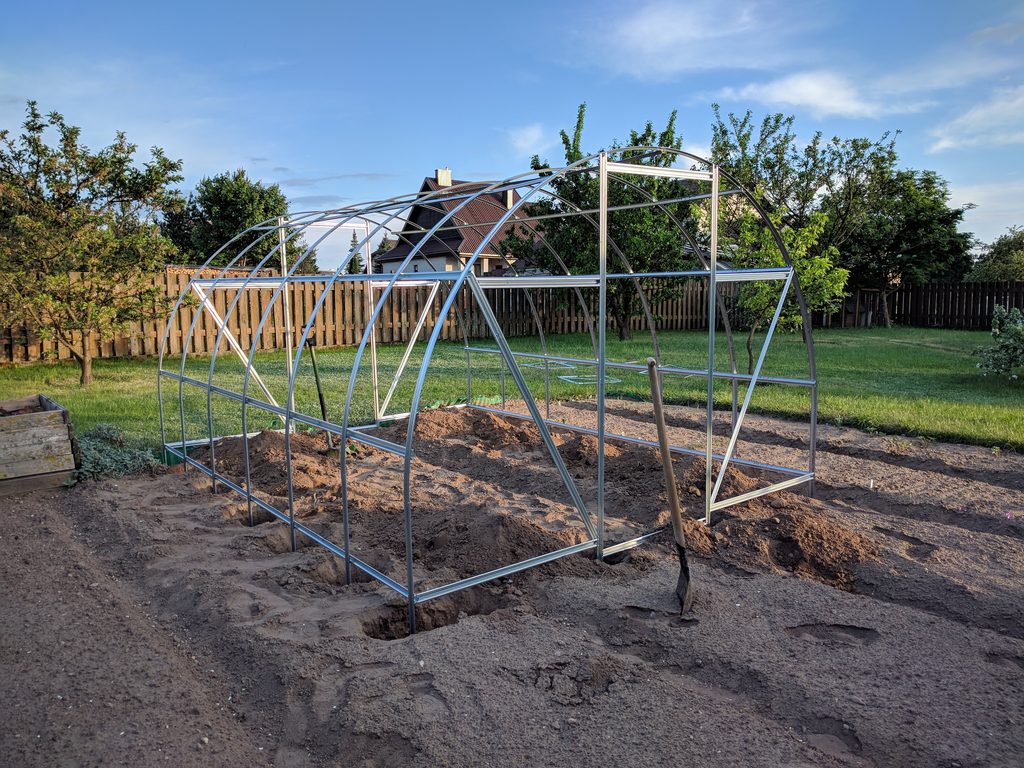
Positioning the frame in the vegetable garden. Setting each ground leg at the correct level was the most demanding part of the installation.
Fitting the Polycarbonate Covering
The next stage was fitting the original 4 mm polycarbonate sheets.
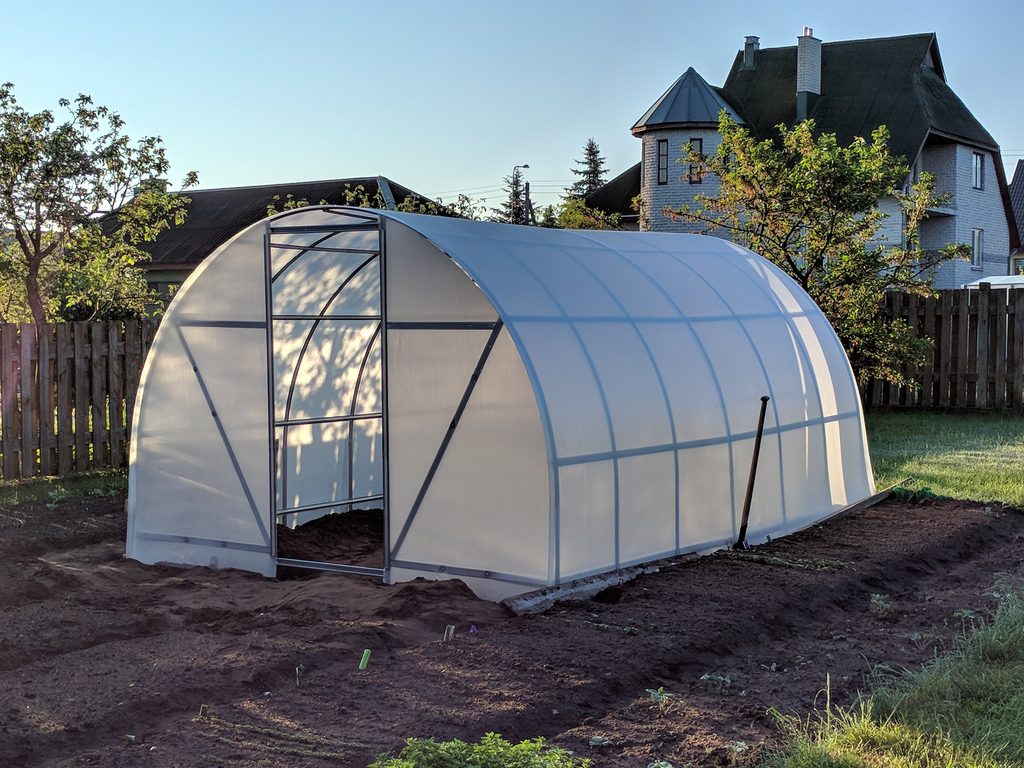
The covering followed the curved frame over the roof and sides, with separate pieces covering the end walls and doors. Once the sheets were fitted, the open metal structure became an enclosed growing space.
The photo below shows the greenhouse after the main covering had been installed, before the planting stage shown in the following pictures.
The original sheets looked fine when new. Their long-term durability became a different story, which I explain briefly towards the end of this article.
Getting Ready for Tomatoes
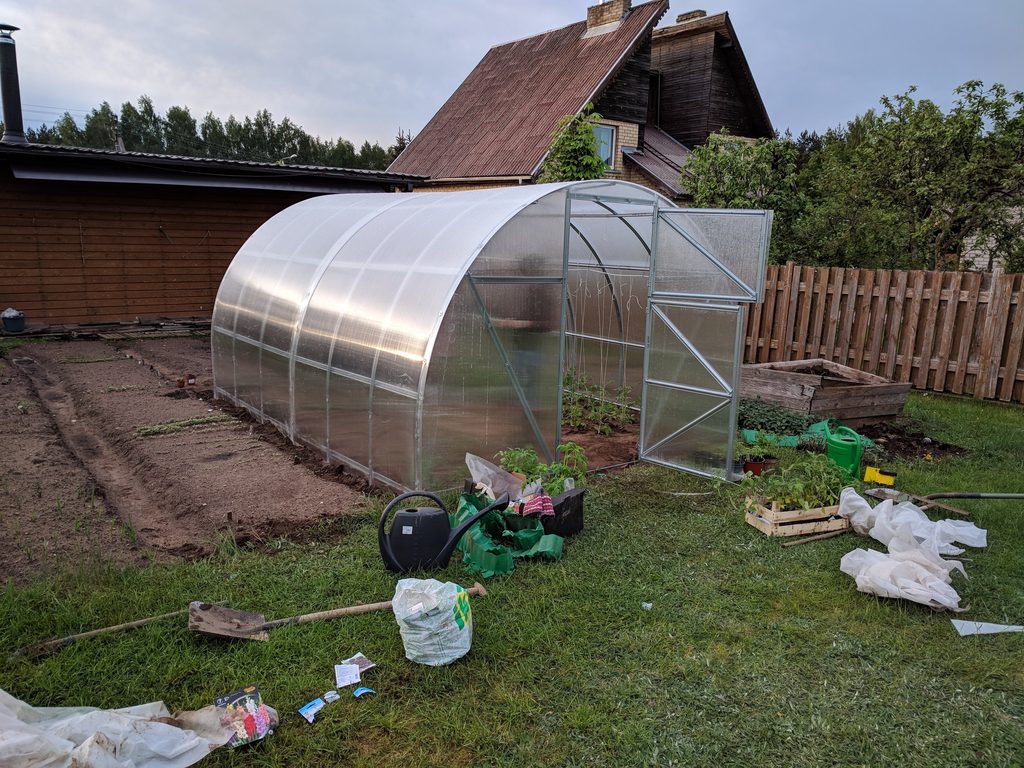
With the structure covered, the greenhouse was ready for planting. My wife grows tomatoes here, so the build was soon followed by young plants, watering cans and support strings.
The tomatoes were planted in the soil inside the greenhouse, with strings hanging from the frame above.
The May photo captures that transition from construction to use: plants were already inside, while more seedlings and gardening supplies were gathered around the entrance.
Automatic Ventilation
The original order also included two Univent automatic openers.
There were additional details involved in making and fitting the windows for this setup. I will cover those in a separate article, where I can show the construction and installation more clearly.
For this first article, the focus is on assembling and positioning the greenhouse itself.
The Greenhouse During Its First Summer
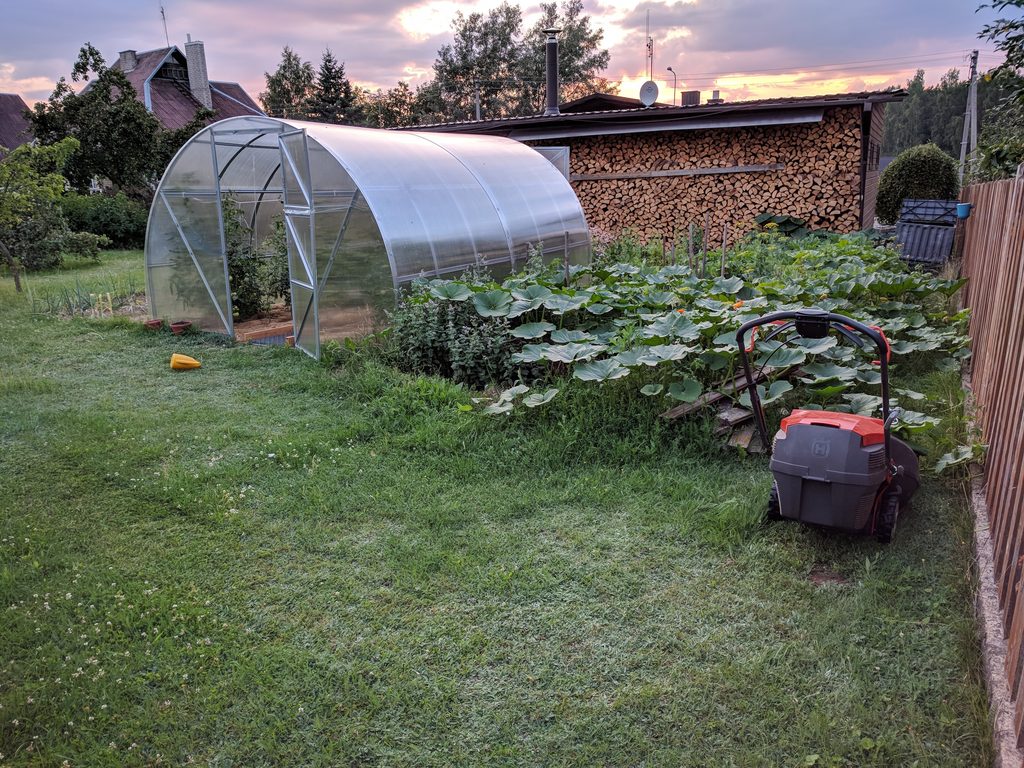
By July, the greenhouse was surrounded by much fuller garden growth, and taller plants were visible inside.
Compared with the first photos of loose components on the lawn, this shows the completed project in use. The greenhouse had become part of our vegetable garden, with tomatoes growing inside and outdoor beds around it.
Eight Years Later: Extensions, Repairs and Lessons
The greenhouse is still in use, but it has changed since these original photos were taken.
Two years after the initial build, I extended its length from 4 to 6 metres. The width remained 3 metres, increasing the growing area from 12 to 18 square metres. I have photos of that work and will cover the extension separately.
The original polycarbonate also had to be replaced after it became brittle and crumbled. Other owners reported similar deterioration after roughly two years. Based on this experience, I suspect the original sheets had inadequate UV protection, or none at all.
For background on why polycarbonate needs UV protection, see Palram’s guide to UV-protected sheets.
There was also a winter when the greenhouse collapsed under the weight of snow. I rebuilt it, but the frame remains distorted. In my case, the flat-profile construction did not withstand the snow load without serious damage.
I will cover the covering replacement and the snow damage in separate posts, including the photos from those repairs.
Looking back, the main challenge during the original build was getting every ground leg correctly positioned so the frame stayed aligned. Over the following years, the durability of the covering and the strength of the frame became the bigger concerns.
Those later experiences are an important part of this project too: the first summer’s photographs show the finished build, but they do not tell the whole story of how it performed over time.